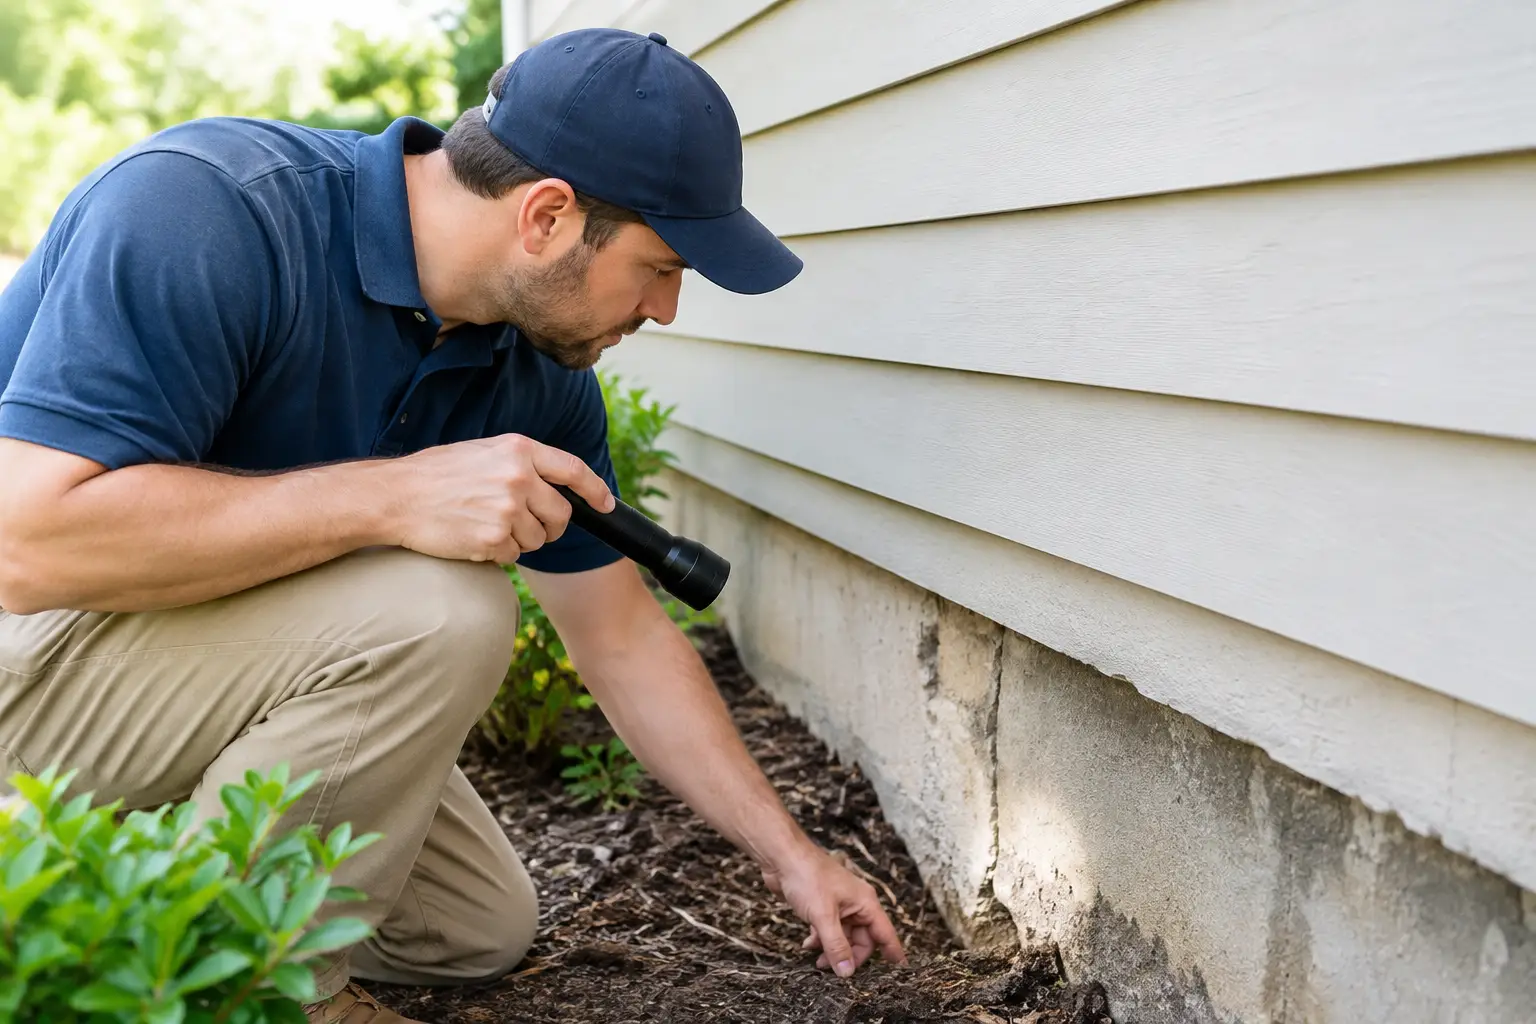

A home inspection report can contain dozens or even hundreds of images, and not every photo carries the same weight. Knowing how to review inspection photos helps you separate a minor maintenance item from a condition that could affect your budget, safety, or plans for the property. The goal is not to become your own inspector. It is to understand what the images show, why the finding matters, and what needs to happen before you move forward.
For Houston-area buyers, this matters even more. Heat, humidity, heavy rain, expansive soils, and storm exposure can all leave clues in a home’s roof, foundation, HVAC system, drainage, and interior finishes. A clear photo record gives you a practical way to see those concerns for yourself rather than relying on a vague description.
Start With the Written Finding, Not the Photo Alone
An inspection photo is evidence, but it is only one part of the finding. Start by reading the inspector’s written comment before zooming in on the image. The comment should tell you where the issue was found, what condition was observed, why it matters, and what next step is recommended.
For example, a photograph of a stained ceiling may look alarming. The written finding may explain that the stain was dry at the time of inspection but should be evaluated for a prior or active roof leak. That context changes the conversation. The photo documents the stain; the inspector’s observations help you understand the risk.
Likewise, a picture of an electrical panel does not automatically mean there is an electrical defect. Look for the specific item called out, such as missing knockouts, double-tapped breakers, corrosion, or improper labeling. Avoid drawing conclusions from a photo that the report does not support.
How to Review Inspection Photos by Priority
A well-organized report usually groups findings by system and priority. Use that organization instead of reviewing photos in the order they appear. Begin with conditions identified as safety concerns, major defects, or items needing prompt evaluation or repair.
Pay close attention to photos involving structural movement, roof damage, active plumbing leaks, electrical hazards, HVAC performance concerns, and signs of moisture intrusion. These conditions can be expensive, may require qualified specialists, and can affect negotiations before the option period expires.
After reviewing higher-priority items, move to repairs and maintenance recommendations. A loose handrail, deteriorated exterior caulk, missing GFCI protection, or a leaking faucet may not stop a purchase, but these items still belong in your budgeting and repair planning. Finally, review cosmetic observations with a practical eye. Peeling paint and worn flooring matter, but they are different from a water-damaged subfloor or a compromised roof covering.
The right priority depends on the property and your comfort level. A first-time buyer may need a clearer repair budget. A move-up buyer may be comfortable handling routine maintenance but want greater certainty around the foundation, sewer line, or roof. The photos and report should support that decision, not create unnecessary panic.
Look for Location and Scale
A useful inspection photo should answer two basic questions: Where is this? How significant is it? Many reports include a wide-angle image to establish location and a closer image to document the specific defect. Review both when they are available.
A close-up of cracked caulk around a window may look severe without perspective. A wider image can show whether it is an isolated exterior maintenance issue or one of many openings around the home that could allow water intrusion. In the same way, a close photo of a foundation crack needs context. Is it a hairline crack in the surface finish, or is it associated with separation, displacement, sticking doors, or interior cracking?
For exterior and roof findings, take note of the direction of the affected area when it is identified. South- and west-facing surfaces in Texas often take more heat and sun exposure. Areas near roof valleys, chimneys, plumbing vents, and exterior penetrations deserve careful attention because water commonly finds its way in at transitions and openings.
Read Moisture Photos Carefully
Moisture is one of the most common sources of costly surprises in a home purchase. Photos may show water stains, damaged trim, swollen baseboards, deteriorated wood, rust, mold-like growth, or thermal imaging anomalies. Each image can be meaningful, but none should be interpreted in isolation.
A stain tells you that moisture was present at some point. It does not always tell you whether the source is active, whether repairs were completed correctly, or whether hidden damage remains. A thermal image can identify a temperature difference that may be consistent with moisture, missing insulation, air leakage, or another condition. It is a valuable screening tool, not a stand-alone diagnosis.
When you see moisture-related photos, review the inspector’s language closely. Look for terms such as “active leak,” “elevated moisture,” “further evaluation,” or “monitor.” Then ask what source is suspected and which professional, if any, should evaluate it. Depending on the finding, that may be a roofer, plumber, HVAC technician, foundation specialist, or water-restoration professional.
Compare Related Photos Across the Report
The strongest clues often appear in more than one section of the report. A roof photo showing damaged flashing, an attic photo showing staining, and an interior ceiling photo showing discoloration may all point to the same concern. Reviewing them together provides a much clearer picture than looking at each image separately.
Do the same for drainage and foundation observations. Standing water near the foundation, negative grading, clogged gutters, and cracks in masonry or interior finishes may be related. That does not prove a structural defect, but it does show why water management should be taken seriously before buying.
For plumbing, compare images of supply lines, drain piping, water heater connections, and any leak evidence below sinks or around toilets. For HVAC, connect images of the outdoor unit, attic equipment, drain lines, ductwork, and thermostat observations. A single defect may have a simple repair, while several related concerns can signal deferred maintenance or a larger system issue.
Use Photos to Ask Better Questions
Your inspection report should make it easier to have focused conversations with your inspector, agent, seller, and repair professionals. Instead of asking, “Is this house okay?” use the photo and finding to ask a specific question.
You may ask whether a pictured crack appears cosmetic or warrants further evaluation, whether a roof condition needs repair or replacement, or whether a plumbing leak was active during the inspection. You can also ask what the likely consequences are if a repair is delayed and whether the condition should be included in a repair request.
If the seller provides repair receipts or invoices, compare the documentation with the original report photos. Confirm that the repair addresses the actual issue, not just the visible symptom. A patched ceiling does not confirm a roof leak was corrected. Fresh paint around a window does not confirm the source of moisture was resolved.
Avoid These Common Photo Review Mistakes
Inspection images can be powerful, but buyers can lose clarity when they treat every image the same way. Avoid these common mistakes:
- Assuming every photo represents a major defect. Inspectors use images to document minor maintenance items as well as serious concerns.
- Treating a photo as a repair estimate. The image identifies a condition; a qualified contractor determines the repair scope and cost.
- Ignoring limitations in the report. A photo may show what was visible at the time of inspection, not what is hidden behind walls, below flooring, or under insulation.
- Focusing only on cosmetic appearance. The most expensive concerns are often drainage, roofing, electrical, plumbing, HVAC, or structural conditions that are not visually dramatic.
- Waiting until the end of the option period to ask questions. Give yourself time to understand the findings and obtain specialist input when needed.
Keep the Decision in Perspective
No home, including a newer home, is perfect. An inspection report is not a pass-or-fail grade, and a photo-filled report should not automatically end a transaction. Its value is in helping you understand the home’s condition before the purchase becomes final.
A home with a few manageable repairs may still be the right purchase. A home with major roof, moisture, electrical, or foundation concerns may still be workable if the price, repairs, and risk align with your plans. What matters is that you are making that choice with clear information instead of buying blind.
At CK Inspections, detailed visual documentation is designed to make the next step clearer, not more confusing. Review the written findings, use the photos to see the condition for yourself, and ask for clarification while you still have time to protect your investment. Peace of mind often starts with one well-understood photo and the right question behind it.