The final walkthrough is not the moment to admire the paint color and start planning furniture placement. It is your last practical opportunity to confirm that the home you agreed to buy is complete, accessible, and in the condition promised before closing. This new build final walkthrough guide helps Texas buyers approach that appointment with a clear plan, useful questions, and the confidence to speak up when something is not right.
A newly built home can look polished while still having unfinished items, installation errors, cosmetic damage, or systems that were never fully tested. Do not buy blind simply because the home is new. The goal is not to find tiny imperfections that have no real effect on the home. It is to identify incomplete work, safety concerns, damaged finishes, and defects that should be addressed before you take ownership.
What the Final Walkthrough Is Really For
Your final walkthrough usually takes place shortly before closing, after the builder has completed most construction and addressed items from prior inspections or punch lists. Think of it as a verification appointment, not a casual tour.
You are confirming three things: the house is substantially complete, agreed-upon repairs or corrections have been made, and the included features are present and operating. If your contract includes appliances, window coverings, garage remotes, a sprinkler system, or other upgrades, this is the time to verify them.
The walkthrough does have limits. A short appointment cannot replace a full independent inspection, and it may not reveal concealed conditions behind walls, under flooring, or inside equipment. That is why a professional inspection before the final walkthrough is often one of the strongest protections a new-home buyer can have. It gives you a documented baseline and a specific list to revisit with the builder.
Schedule It at the Right Time
Ask for the walkthrough when the home is truly close to completion, not while multiple trades are still actively working throughout the property. Construction activity can make it difficult to access the attic, electrical panel, garage, exterior areas, and mechanical equipment. It can also create the impression that an unfinished condition is normal when the closing date is only days away.
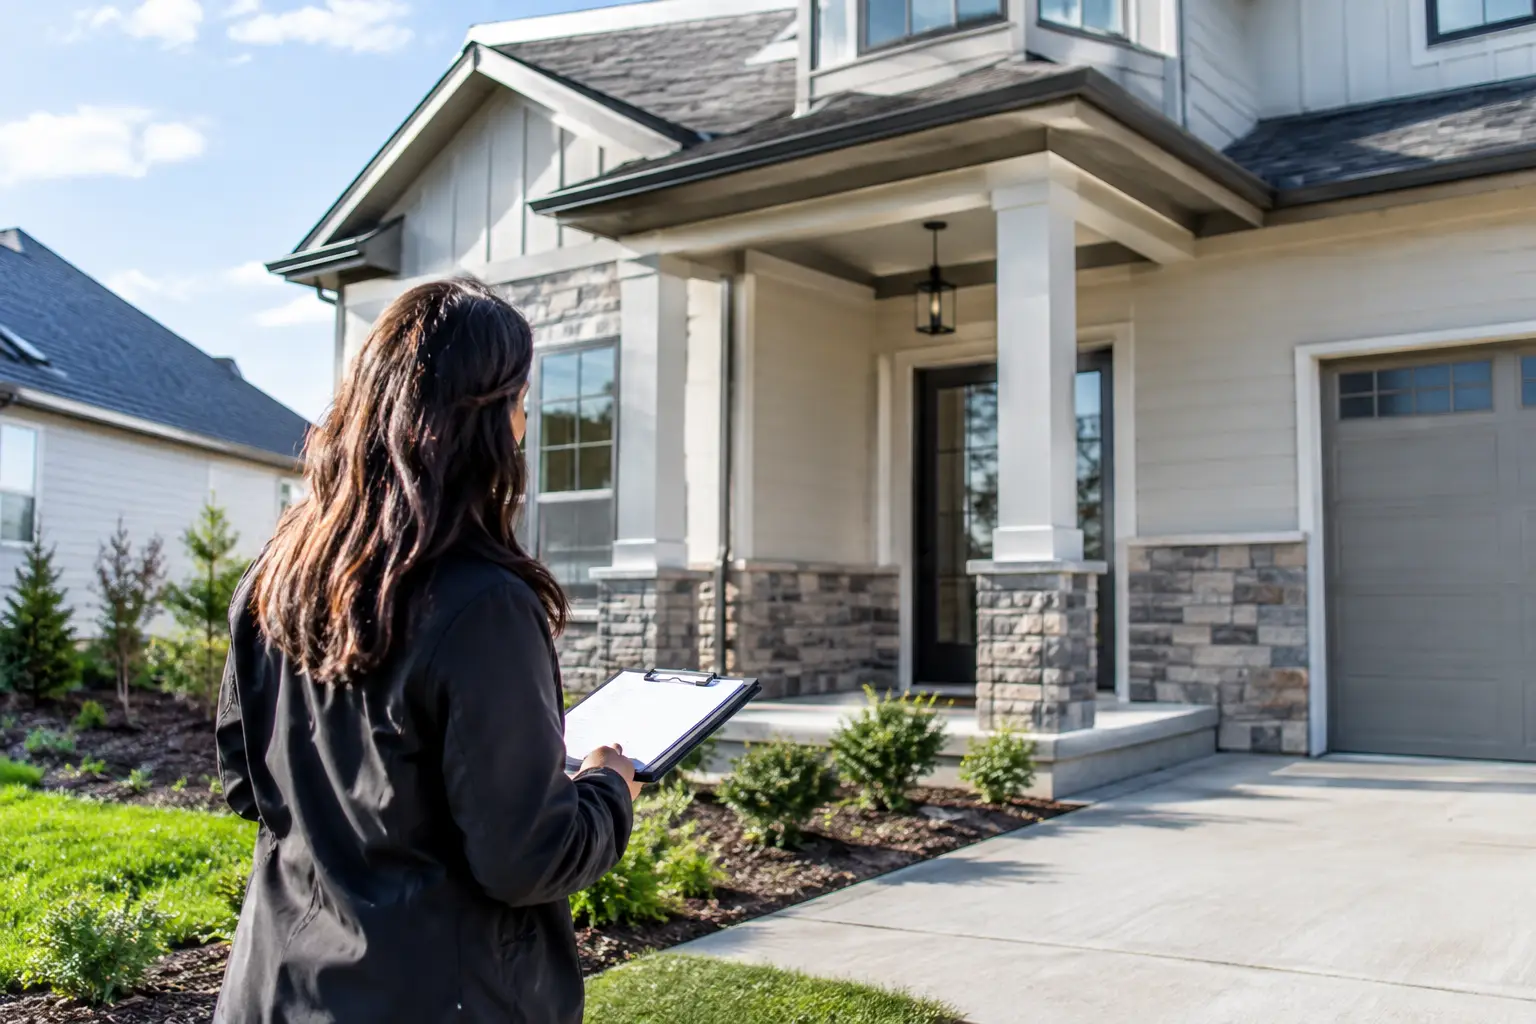
If possible, schedule your walkthrough during daylight hours. Natural light makes paint damage, cracked glass, exterior grading concerns, roof and gutter issues visible from the ground, and uneven finishes easier to see. Plan enough time to move through the property carefully. Rushing through a large home in 20 minutes is rarely enough.
Bring your inspection report, builder punch list, contract selections, phone charger, and a notebook or photo app. Photos should be clear, dated, and paired with a brief description of the location and concern. “Bedroom two, north wall, damaged drywall beside closet door” is much more useful than a photo with no context.
Start Outside Before You Walk In
The exterior is easy to overlook because buyers are eager to see the finished interior. Yet outside conditions can affect drainage, water management, and long-term maintenance from day one.
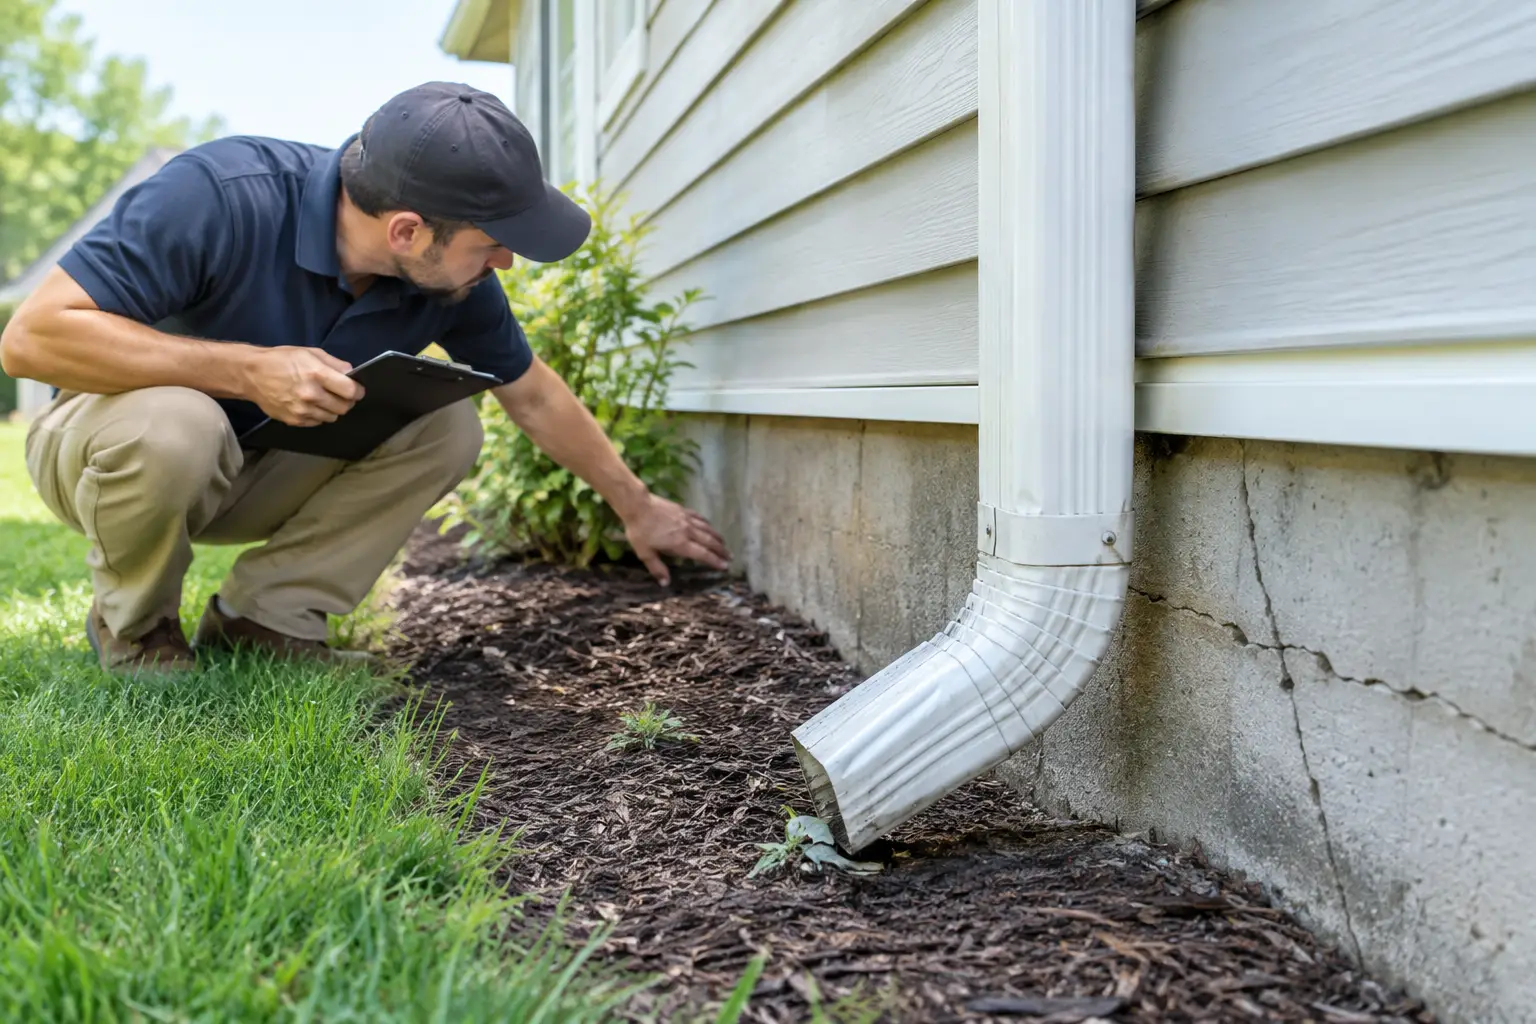
Walk the lot slowly. Look for construction debris, low spots near the foundation, standing water, damaged siding, cracked masonry, loose trim, and areas where soil or mulch is piled too high against the home. In Greater Houston, where heavy rain is part of life, grading and drainage deserve close attention. Water should be directed away from the foundation rather than held against it.
Check that exterior doors operate smoothly and latch correctly. Look at visible caulking around windows, doors, and exterior penetrations. Confirm that hose connections, exterior outlets, lighting, and doorbell equipment work. If the home has a fence, gate, irrigation system, pool, or detached structure included in the sale, inspect those items as carefully as the house itself.
Use This New Build Final Walkthrough Guide Room by Room
Once inside, work in one direction through the home instead of jumping from room to room. Start at the entry and move methodically through every space, including closets, pantry areas, utility rooms, garage, attic access, and exterior storage areas. A consistent route reduces the chance of missing a room.
Look Beyond Paint Touch-Ups
Cosmetic concerns are common in new construction, but some deserve more attention than others. Look for chipped countertops, scratched flooring, cracked tile, damaged cabinets, missing grout, loose handrails, poorly aligned doors, and gaps around trim. Open and close every interior door. Check that closet doors track properly and that drawers and cabinets operate without binding.
Not every minor paint variation needs to delay closing. Builders often have reasonable standards for cosmetic corrections, and expectations should be practical. But damage, unfinished surfaces, cracks, or workmanship that clearly falls below the agreed finish level should be documented and addressed.
Test What You Can Safely Test
Operate the systems a homeowner would reasonably use. Turn lights and ceiling fans on and off. Test receptacles with a simple outlet tester if you have one. Run water at sinks, tubs, and showers, then check beneath sinks for active leaks. Flush toilets and listen for continued running. Test exhaust fans, garage door openers, door locks, and windows that are designed to open.
Set the thermostat to confirm heating and cooling respond, but do not expect the equipment to cycle instantly. Verify that supply vents are installed and unobstructed. Run the dishwasher and disposal if utilities are active. Open the oven, inspect the cooktop, and confirm installed appliances match your selections.
Use normal homeowner operation only. Do not remove electrical-panel covers, climb onto the roof, dismantle equipment, or attempt technical testing. If something appears wrong, document it and ask the builder for a response or correction plan.
Check the Water and Drainage Inside
Water use during a walkthrough can reveal concerns that a visual scan will miss. Run multiple fixtures at the same time when practical. Watch whether tubs, showers, and sinks drain normally. Check for water collecting at shower thresholds or around toilets. Look at ceilings below bathrooms and around plumbing walls for staining, bubbling, or damp-looking finishes.
A new home should not have unexplained leaks, loose fixtures, or drains that back up during ordinary use. Some conditions may be caused by construction debris or an incomplete connection, while others require closer evaluation. Either way, they should not become your problem after closing.
Verify Repairs Instead of Taking Them on Faith
If you had a pre-closing inspection, bring the report and review each item at the property. Do not accept “it was handled” as the final answer. Ask to see the correction, then determine whether the condition actually appears resolved.
Some repairs are straightforward, such as adding a missing cover plate or adjusting a door. Others involve systems or components that cannot be fully evaluated by sight. For those, ask for supporting documentation, such as service records, manufacturer information, or confirmation from the appropriate trade. Keep copies with your closing documents and home records.
If an item has not been completed, get the next step in writing. The written record should identify the issue, who is responsible, and when the work is expected to occur. A verbal promise can be difficult to track once the transaction has closed.
Know When to Push Back or Pause
The right response depends on the nature of the issue. A small paint touch-up may be appropriate for a post-closing punch list. A nonfunctioning HVAC system, active plumbing leak, missing safety feature, serious drainage concern, or incomplete agreed-upon upgrade deserves immediate attention.
Do not let closing-day pressure force a decision you do not understand. Your real estate agent, builder representative, and inspector can help clarify what was found and what documentation is needed. If a significant concern remains unresolved, ask about your options before signing closing documents. The details depend on your contract, financing, and the builder’s warranty process.
A builder warranty can be valuable, but it is not a reason to accept known problems without a plan. Warranty repairs can take time, require repeated appointments, and disrupt life after move-in. Addressing clear issues before closing is usually simpler than trying to coordinate corrections after you own the home.
Keep Your Expectations Practical and Your Records Clear
New construction is built by people, often under tight schedules, and few homes are completely free of minor punch-list items. The purpose of your walkthrough is not to demand perfection from every surface. It is to make sure the home is complete, safe, functional, and consistent with what you are purchasing.
Clear documentation protects everyone involved. Make a focused list, avoid vague language, and separate cosmetic preferences from defects or incomplete work. This helps the builder understand what needs attention and helps you maintain a useful record if follow-up is necessary.
Before closing on a new home, give yourself permission to slow down, open every door, run the water, test the basics, and ask direct questions. A careful final walkthrough can prevent a frustrating first week of ownership and give you a stronger start in the home you worked hard to buy.